Registration of a Group of Terminals
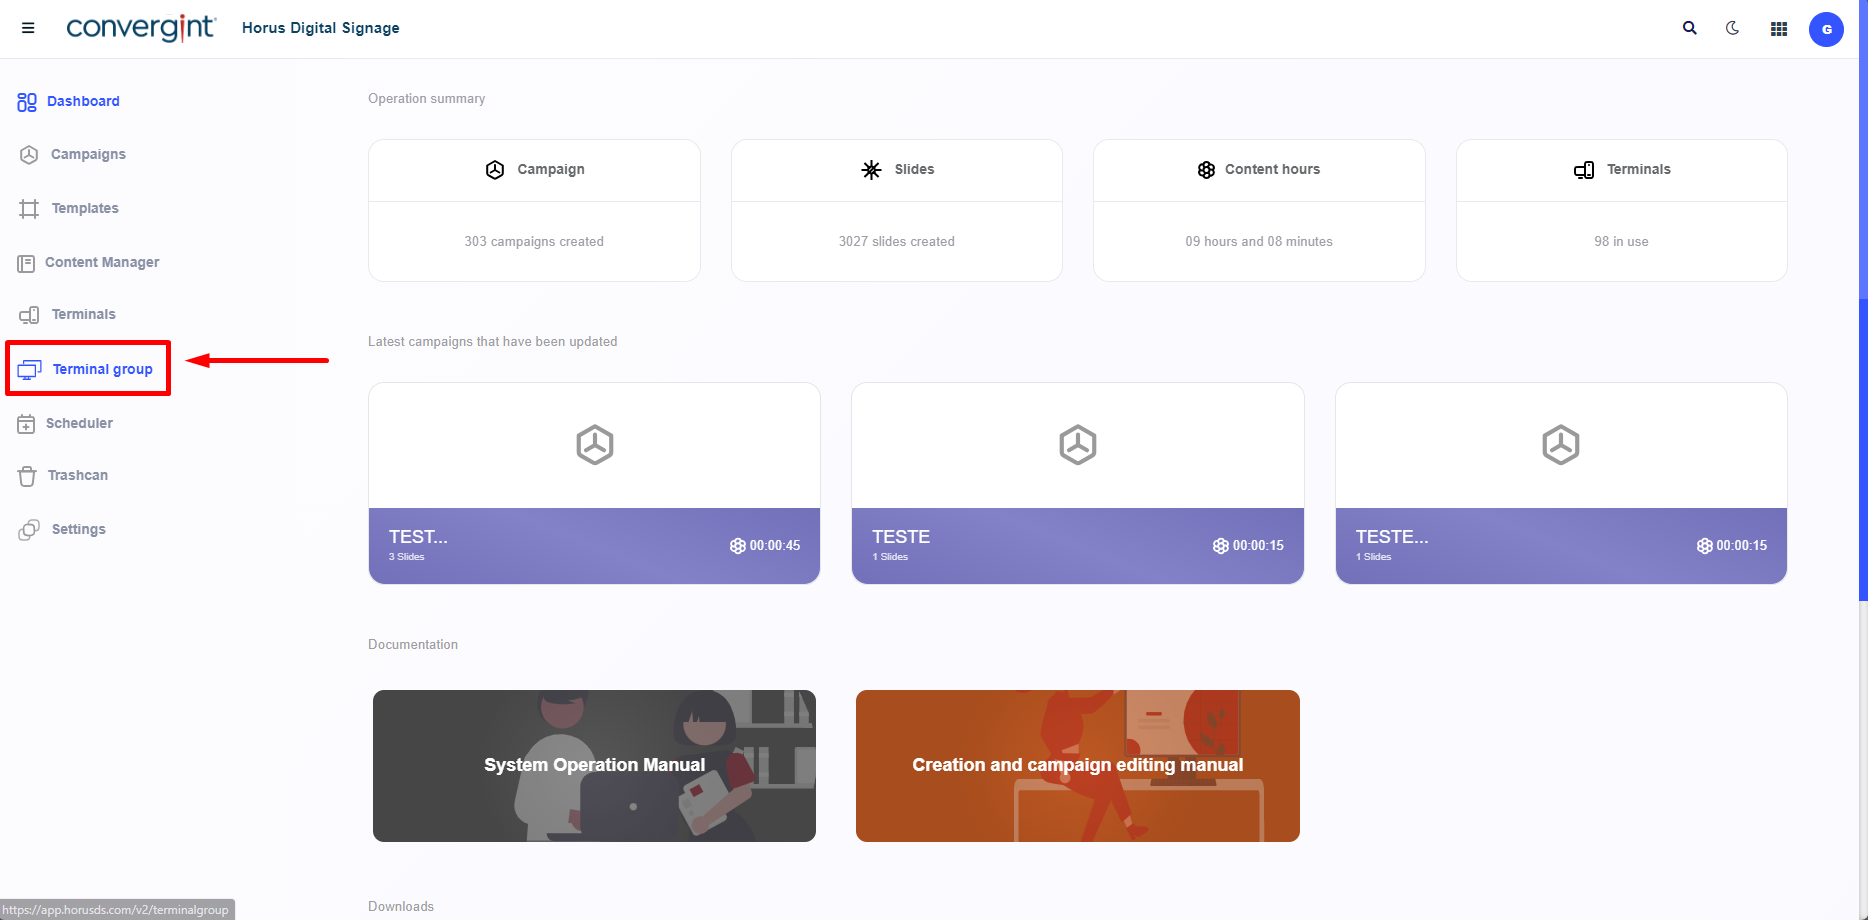
The first step to register a Terminal Group is to access the “Terminal Group” tab, highlighted above. This function allows for the management of multiple terminals simultaneously, which can be either a Campaign or Scheduler.
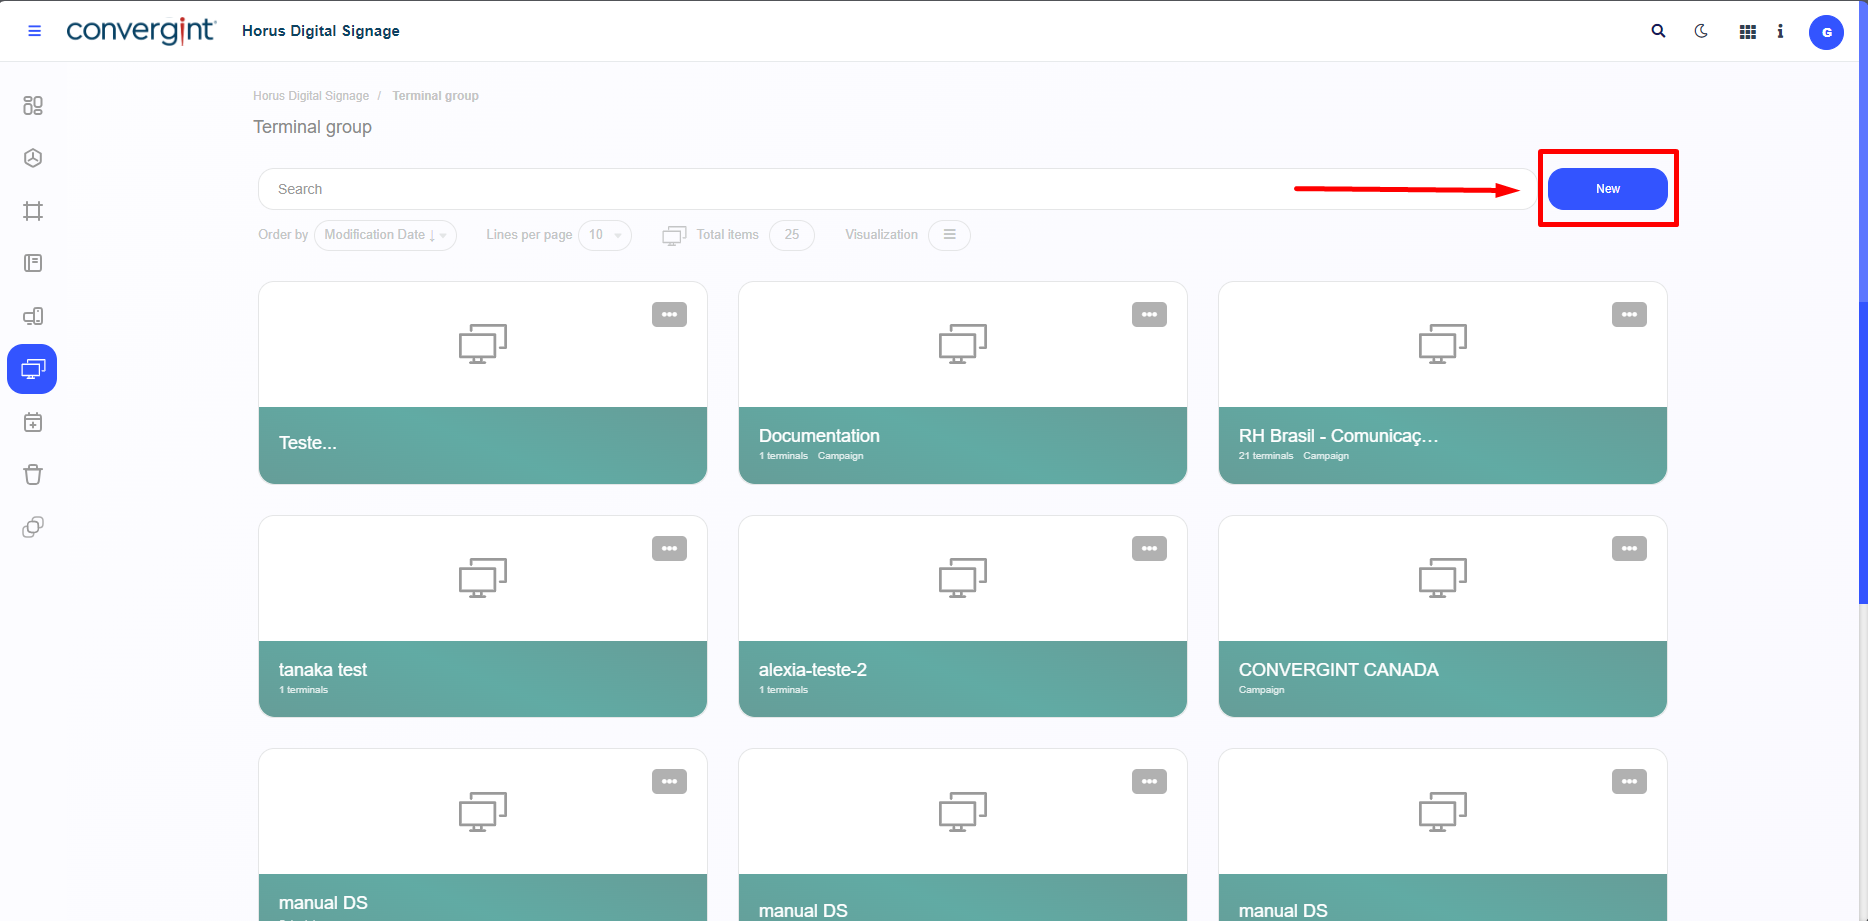
In the "Terminal Group" section, the system will open a screen. Next, click on “New” to create a new terminal group. If you already have any groups created previously, they should be listed just below the search bar.
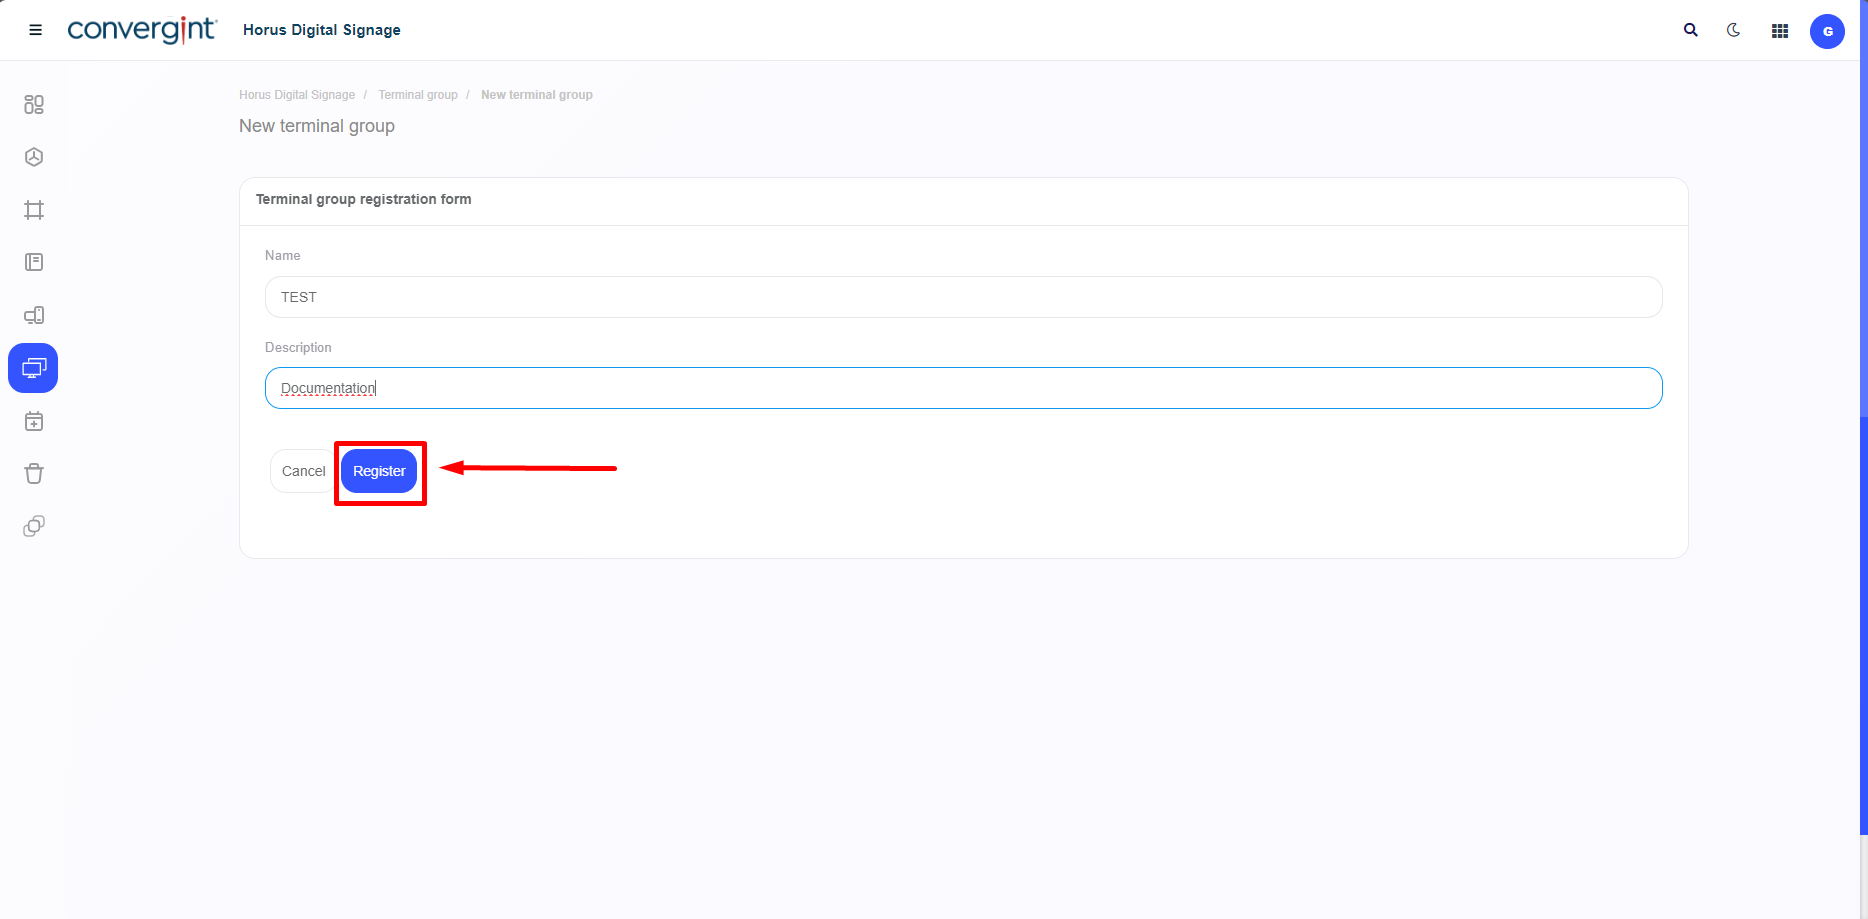
In the "Register Terminal Group" option, you will need to enter a name for the new terminal group. If you need a description, there is a field available just below the "Name" option. After completing the previous steps, simply click on "Register," highlighted, which will register the terminal group and display it below with your selected options.
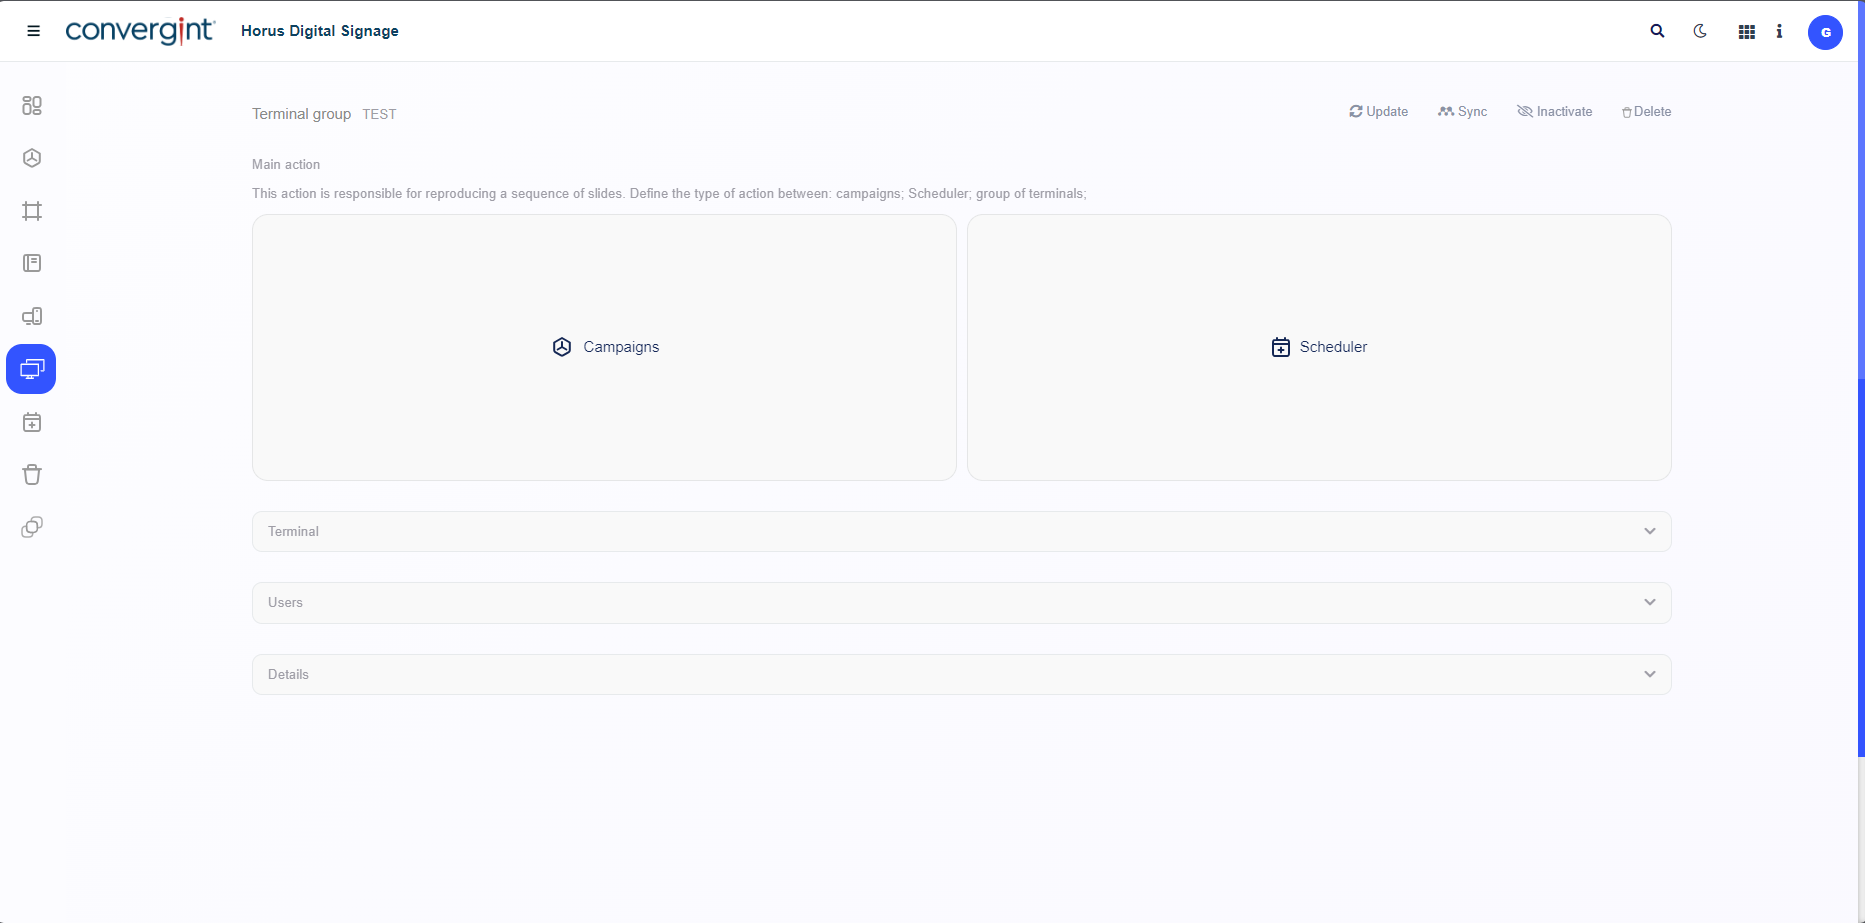
After completing the previous step, you will be redirected to the Slide Addition screen, where you can manage Operators, make changes to the previously described content, and synchronize with the Player. In this Actions screen, you will have the option to play a sequence of slides by defining the type of action (Campaigns or Scheduler) according to your preference.
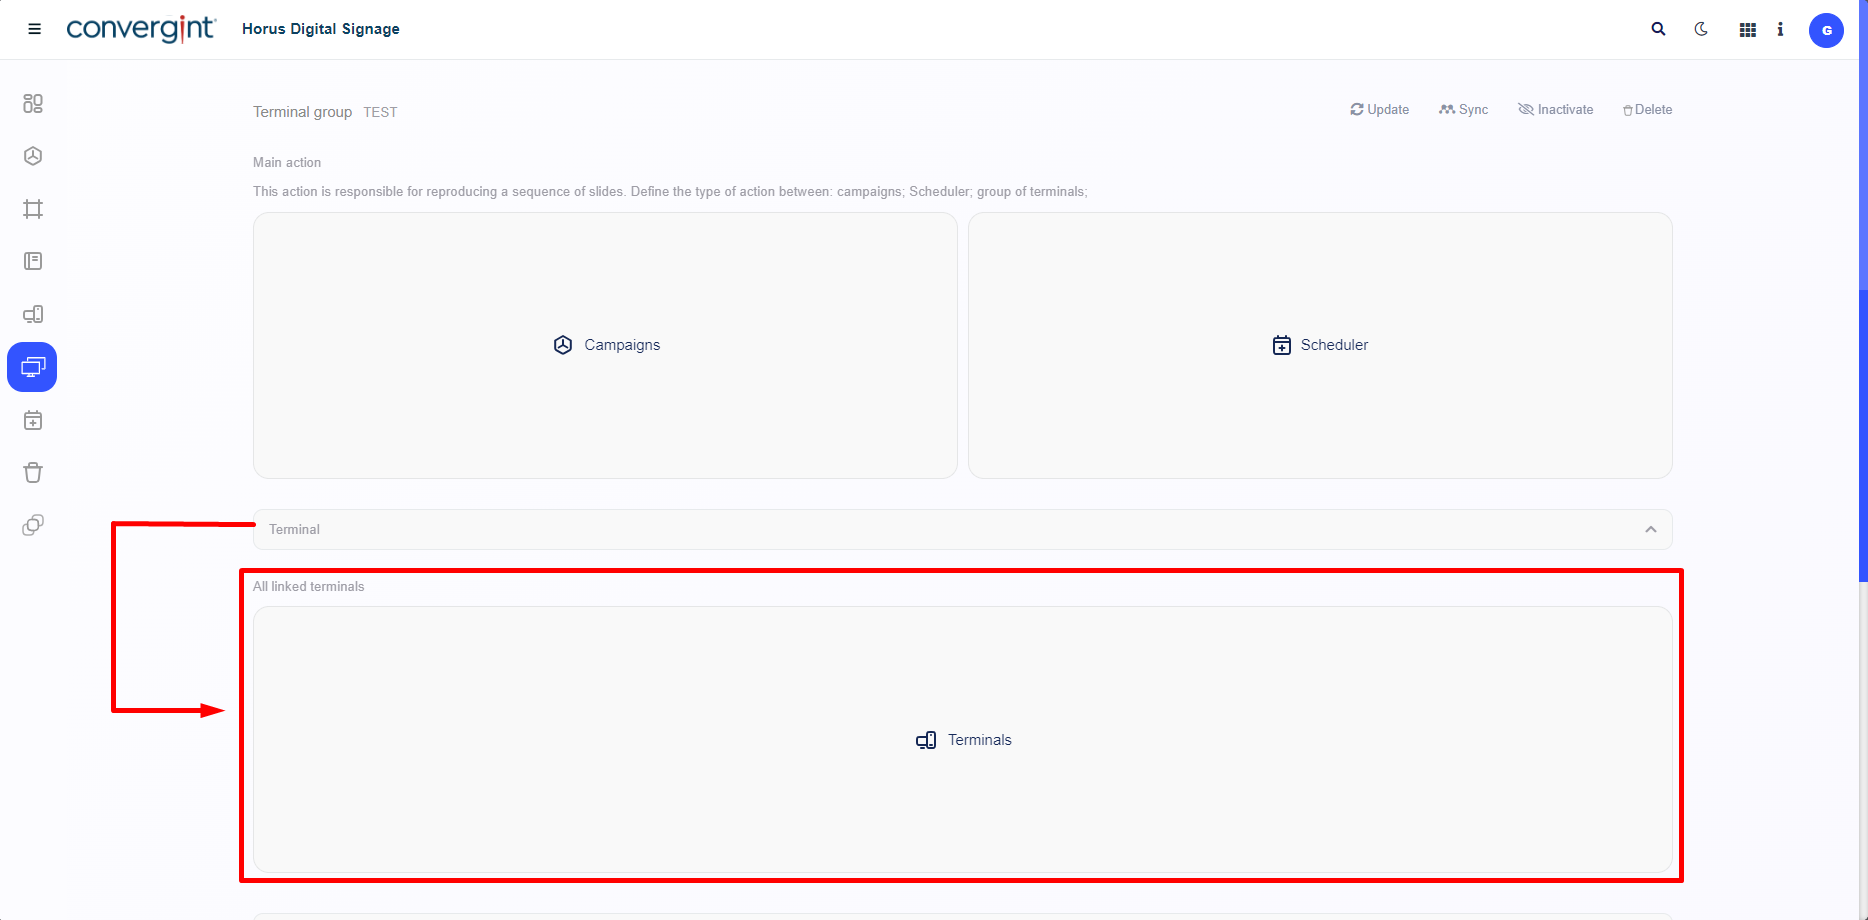
Within the “Link Terminal” option, you will have the ability to link terminals to use in the specified Terminal Group. Additionally, it will enable display options, directing to the chosen terminal, offering flexibility and various options for different scenarios.
In the “Users” option, you will have the ability to add specific users to the mentioned terminal. Additionally, it will be possible to customize the permissions for each user, providing flexibility and various options for different scenarios.
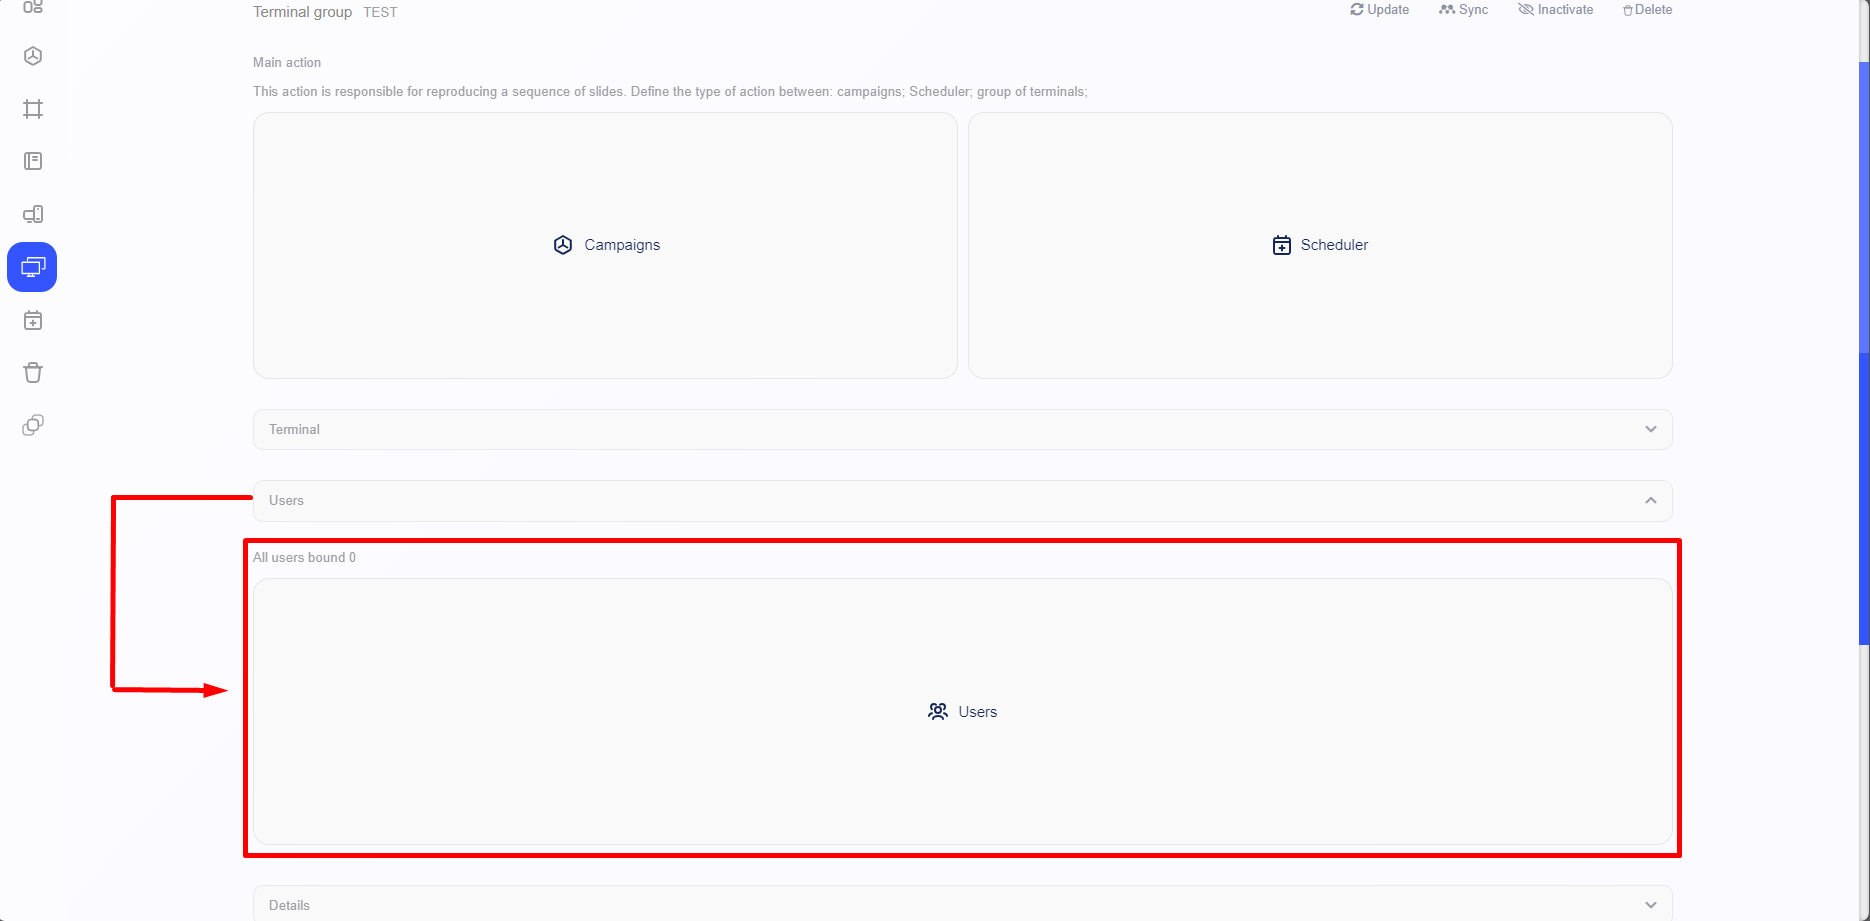
Note: It is not necessary to link a user for the functionality to work. The decision to add a user or not is up to your preference.
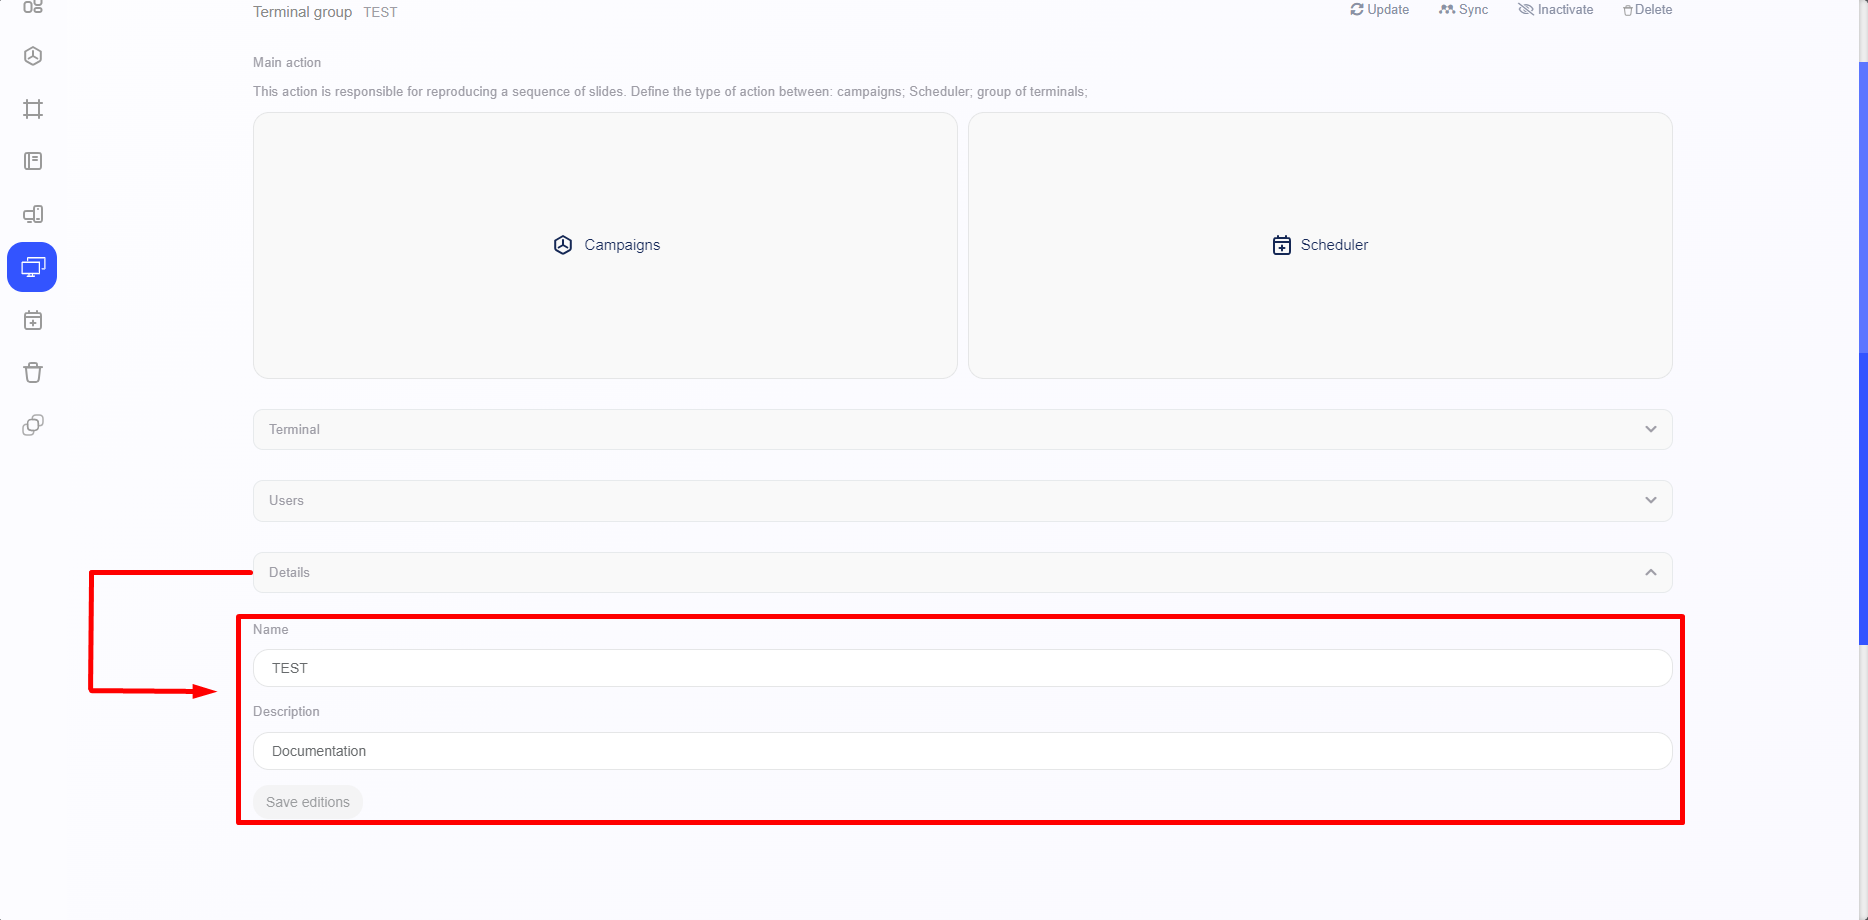
In the “Details” option, you will find specific fields where you can enter a new name for the terminal group and update the description as needed. This will allow you to customize the information of the terminal group according to your needs and preferences. Be sure to review your changes before saving them to ensure that all information is correct and up to date.
In the upper right corner of the screen, you will find functionalities that allow you to update, synchronize, deactivate, and delete the Terminal Group, providing flexibility.
